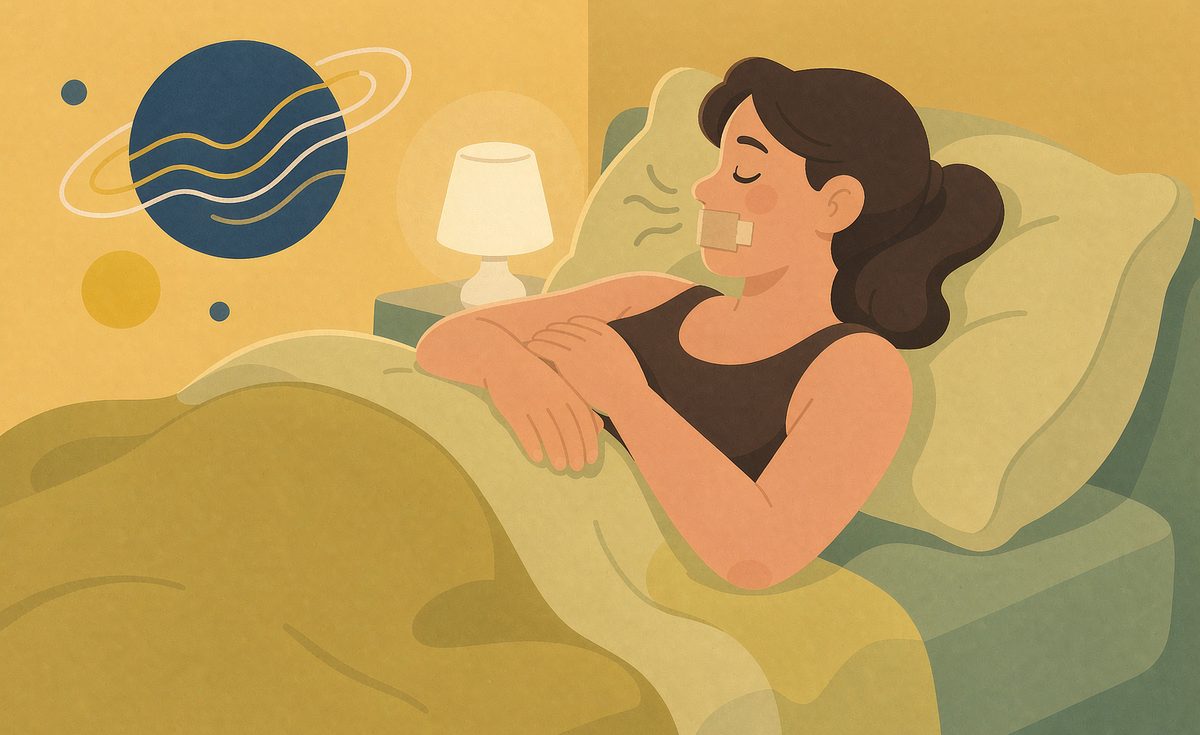
You have read about the benefits of nasal breathing during sleep — deeper rest, no dry mouth, less snoring. But the first time you stand in front of the mirror with a strip of tape, the obvious question hits: how do I actually do this without feeling suffocated?
This guide walks you through the exact process, from your first daytime practice session to your first taped night's sleep. Follow it in order — the daytime testing steps are what separate a smooth transition from a panicked 2 a.m. tape-ripping session.
Step 1: Test Your Nasal Breathing While Awake (Day 1-3)
Never tape your mouth for the first time at bedtime. Train your body first:
- Days 1-3: For 10 minutes each day, sit quietly with your lips gently closed and breathe only through your nose. No tape yet.
- Day 4: Try 5 minutes of light activity — walking around your home — with lips closed, nasal breathing only.
- Day 5: Do the 60-second lip-close test below.
If nasal breathing feels natural at rest and during light activity, your airway is likely ready.
Step 2: The 60-Second Lip-Close Test
This simple self-check tells you whether taping is safe for you tonight:
- Sit upright and close your lips gently (no clenching).
- Breathe only through your nose for 60 seconds.
- Notice: Can you take a full, comfortable breath? Any straining, wheezing, or air hunger?
| Result | What It Means | Next Step |
|---|---|---|
| Easy, silent nasal breathing | Your airway is clear | Proceed to Step 3 |
| Mild effort, but no distress | Slight congestion or habit | Practice 3 more days, retest |
| Any difficulty, noise, or panic | Possible nasal obstruction | Do NOT tape. See an ENT doctor |
Step 3: Choose the Right Tape
The single biggest mistake beginners make is using the wrong tape. You need something that:
- Breathes: Porous material lets air and moisture pass (3M Micropore, Somnifix strips)
- Removes painlessly: Low-tack adhesive designed for skin, not paper
- Fits the job: A small vertical strip over the center of your lips is enough — you are not sealing a package
Our Top Pick for Beginners: Somnifix Sleep Strips
$19.99 (32 strips)
Somnifix strips are purpose-built for mouth taping: a breathable vent in the center, gentle hypoallergenic adhesive, and a shape designed to fit lips. They release instantly if you need to cough or speak.
- Central vent allows emergency mouth breathing
- Painless removal
- Designed specifically for sleep
- More expensive than medical tape
- Only 32 strips per box
Budget alternative: 3M Micropore medical tape (about $5 per roll) cut into 2-inch vertical strips works well and costs pennies per night. It is what many long-term mouth tapers settle on.
Step 4: Apply the Tape Correctly
- Dry your lips. Adhesive will not stick to moist skin. Blot lips with a tissue first.
- Cut or take one strip roughly 2 inches long.
- Place it vertically over the center of your closed lips, so it runs from under your nose to below your lower lip. The sides of your mouth stay untaped.
- Press gently for 5 seconds to secure the adhesive.
- Test it: Try to breathe through your mouth. You should be able to force air past the edges if you need to. This safety valve matters psychologically.
Step 5: Your First Taped Night
Expect the following, and none of it is a problem:
- Awareness: The first night you will notice the tape. Most people stop noticing it within 10-15 minutes.
- A dry throat upon waking that is gone: Nasal breathing humidifies air naturally — most people wake without the dry mouth they have had for years.
- Finding the tape off in the morning: You may remove it in your sleep the first few nights. This is normal. Keep going — within a week, most people keep it on all night.
If you wake up feeling panicked or suffocated, remove the tape and try again in a few days after more daytime practice. There is no race.
Step 6: Morning Removal
Peel slowly from one corner, in the direction of hair growth (downward on the upper lip, upward on the chin). If adhesive residue remains, warm water and gentle rubbing removes it. Do not rip the tape off — repeated fast removal can irritate skin over weeks of nightly use.
Common Problems and Fixes
| Problem | Why It Happens | Fix |
|---|---|---|
| Tape falls off overnight | Oily skin, lips too moist, or wrong tape | Dry lips before applying; try Somnifix or Micropore |
| Panic or claustrophobia | Too large a strip, no daytime practice | Use a smaller strip; redo daytime practice for a week |
| Skin irritation | Adhesive sensitivity | Try a hypoallergenic strip; apply petroleum-free barrier balm around (not on) lips |
| Still breathing through mouth | Tape placement too loose | Ensure lips are dry and tape covers the lip line fully |
When Mouth Taping Is NOT Safe
Do not tape your mouth if any of these apply:
- You cannot breathe comfortably through your nose (deviated septum, polyps, severe congestion)
- You have been diagnosed with sleep apnea and have not discussed taping with your doctor
- You have consumed alcohol heavily — vomiting with a taped mouth is dangerous
- You have a stomach condition with frequent reflux episodes at night
- Children should never mouth tape without specific medical supervision
For the complete contraindication list, the 2-minute nose check, and what the 2025 PLOS One systematic review actually found, see our full mouth taping safety review.
The Bottom Line
Mouth taping is a low-cost experiment with a genuinely useful payoff for open-mouth sleepers: no more dry mouth, reduced snoring, and often noticeably deeper sleep. The keys are daytime practice first, the right porous tape, a small vertical strip, and a safety-first mindset.
Want the full picture — the science, the tape brand comparison, and who should skip taping entirely? Read our complete mouth tape guide, see how tape compares to nasal strips head-to-head, or jump straight to our best mouth tape of 2026 rankings — six picks compared by safety vent, skin sensitivity, and price. If snoring is the reason you are starting, read our mouth taping for snoring guide first. For the full risk rundown, read our mouth taping side effects guide.